 |
KETTLER WORLD TOURS 2.0 |
Create tour
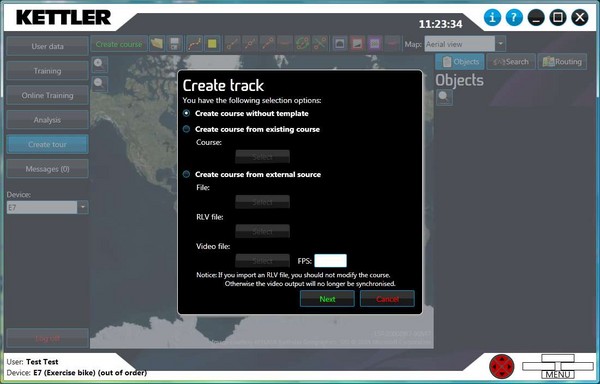
New tours can be created or imported using the Create tour function. After the start there are 3 options:
- Create course with no template
The course editor starts empty and offers routing. - Create course from existing course
The tour selection is started. A tour can be selected from existing courses and then modified. - Create course from external source
A tour can be loaded from a GPX or IKT file.
If there is a real life video (RLV) for this tour it can be selected.
If there is a video file it can be selected. If a RLV file is chosen at the same time the file entry from the RLV file is just ignored and replaced by the chosen video file. If a RLV file is not chosen this can be calculated if the GPX file has time information. The frame rate is defined after selecting the video file. If this cannot be defined it has to be manually entered.
The following functions are important for creating a tour:
| Create course | The course is saved by pressing Create course. The software applies all the text points and the first line with the check mark from the list under Objects. Additional course information can be entered before saving. | |
| Open file | Opens the Create track dialogue in which a new tour can be planned or existing tours can be loaded. | |
| Save file | Saves all lines and text points from objects into a GPX file for external processing. |
If a RLV file is loaded for the tour, the tour should not be changed. The elevation information can be replaced and smoothed but the points should not be moved. Otherwise the video will no longer be synchronised.
Routing
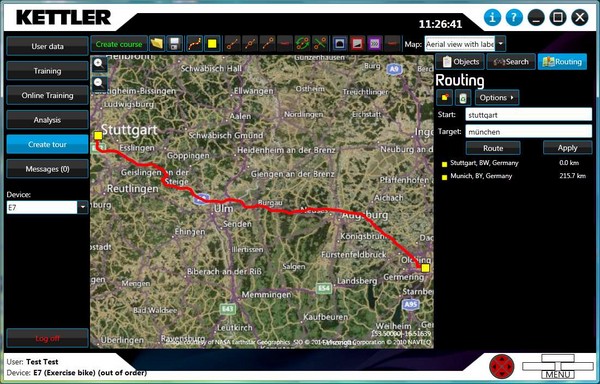
A new tour can be created very easily using the Routing function. Quick routing can be carried out between 2 locations by entering the start and finish.
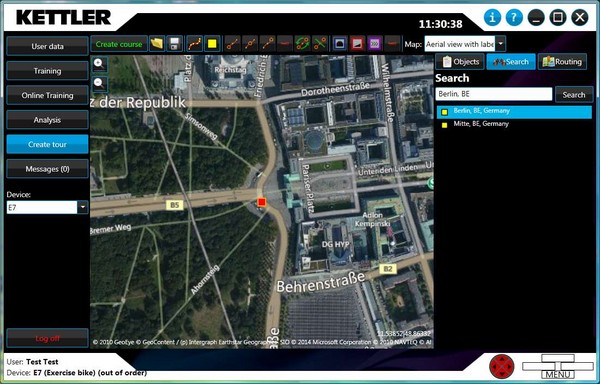
Other points can be added at the end of the routing line using the ![]() Choose routing points on the map function.
Choose routing points on the map function.
The ![]() Delete selected routing point function removes the point chosen from the list.
Delete selected routing point function removes the point chosen from the list.
You can also select Use footpaths and Shortest distance from the options. If the shortest distance is selected, the shortest time is used.
A line object is created out of the routing by clicking on Apply. Only now is the elevation information assigned and individual line points can be changed. The routing points are created as text points.
Edit lines
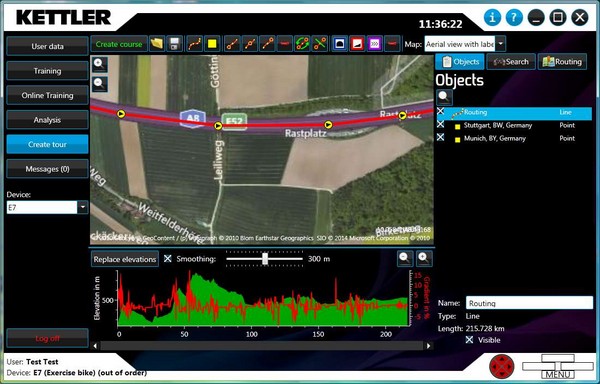
If a line is selected under objects, the corresponding elevation profile is displayed at the bottom.
The line's elevation details can be replaced using the Replace elevations function. This function is required as elevation details can also be applied from imported files such as GPX and IKT and therefore mixed with new data. These are replaced using this function.
The elevation profile can be smoothed using Smoothing. The strength defines the distance range that is to be smoothed.
The line name can be changed on the bottom right once it is selected.
Line functions:
Create new line | Create a new line object. Once selected, the points can be placed directly on the map. | |
Add point to start of line | New line points are added at the start of the line using this function. | |
Add point within the line | New line points are added after the selected point using this function. | |
Add point to end of line | New line points are added at the end of the line using this function. | |
Delete selected point | The selected line point is removed | |
Rotate line | The line's travel direction is reversed. | |
| Cut line | Cut a line at the selected line point. Resulting in 2 new lines. | |
Add tunnel/bridge | Areas of the line can be defined as tunnels or bridges using this function so that this is taken into account in the elevation profile. After selection, the start point and end point are then chosen. The points between these are blue and the "Tunnel" marker is added to the elevation profile. Elevation values are calculated by linear interpolation between the start and end. | |
Mountain classification | This function is used to specifically classify a section of the line. After selection, the start point and end point are then chosen. The points between these are red and the "Mountain" marker is added to the elevation profile. | |
| Sprint classification | This function is used to specifically classify a section of the line. After selection, the start point and end point are then chosen. The points between these are purple and the "Sprint" marker is added to the elevation profile. | |
Delete section | A section that belongs to the selected line point is deleted. |
© 2012-2026 Wolfgang Weinmann Softwareentwicklung


